Modding Team Fortress 2: Making custom weapon textures
Have you ever dreamed of customizing your weapons to look cool and unique? or maybe you wanted to have a certain warpaint but you don’t have the money to afford it?
Yeah, me neither, but if you really want to learn about modding TF2 and learn more about the source tool set, this is the right place to start!
Today I will be covering the following topics:
- Prerequisites
- Extracting files using GCFScape
- Editing Textures using Krita/Gimp/Photoshop
- Converting Image files to
.vtffiles using VTFEdit - How to load custom textures in-game
- Limitations
Prerequisites
You need the following programs installed on your PC:
- GCFScape (Used to open/extract files from
.vpkpackages) Dependencies:- .Net Framework 4
- MS Visual Studio C++ 2010 Runtime
- VTFEdit (Used to open
.vtffiles and convert images to.vtftextures) Dependencies:- .Net Framework 2
- MS Visual C++ 2005 Runtime
- Any photo editing software
- A working installation of Team Fortress 2 and Steam
Getting the textures
Now we will get the textures from the TF2 Packages, but first we need to locate your tf/ folder. To get there, go to your steam library, right-click Team Fortress 2, hover your mouse under “Manage”, and click “Browse Local Files”.
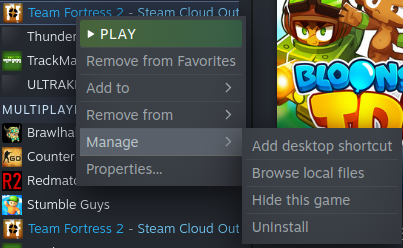
This should open the Team Fortress 2 folder on Explorer (Or if on Linux, your default file manager). Then navigate to the tf directory. You should see the folders:
- custom (We will use this folder later)
- cfg
- maps
- sound
- materials
- media
- resource
- scripts
On the tf directory, look for the tf_textures_dir.vpk file.

And Open it using GCFScape by right-clicking the file and clicking “Open With GCFScape” or open the “Open With…” dialog.
After opening the file, you should see a folder called materials, now navigate to the following directory: materials/models/weapons/c_models
Now select the weapon of your choice. For this tutorial, I will use Scout’s Scattergun.
Navigate to the c_scattergun folder and select the c_scattergun.vtf file. This file contains the textures for the scattergun model, which we will edit in a bit. But first, we need to get the file out of the tf2_textures_dir.vpk file. To do so, right click the file then click “Extract”.
Select the folder you want the scattergun texture to be, let’s say “Documents”, and click “Ok”. And now you should have the texture file on your PC/Laptop!
Editing the Textures
Now that we have the texture file that we need to edit, we need to convert it into a format that our image editing program can read!
And that’s where VTFEdit comes in. Now, navigate to the folder you extracted the file to and open the c_scattergun.vtf file with VTFEdit by double-clicking the file (or by using the right-click, “Open with…” method).
Then, click “File”, click “Export” and select “PNG Files (*.png)”, then click “Ok”
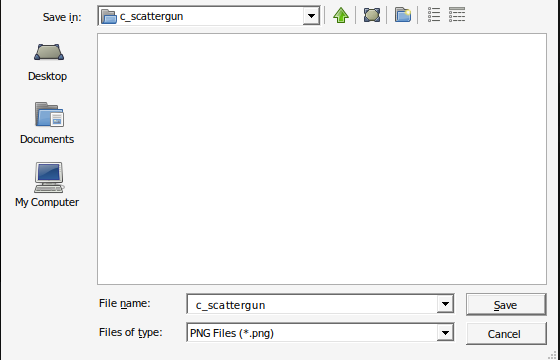 Now open the converted file on your image editor and change whatever you want. To not loose quality, save it as a
 .tga file, but you can save it as a .png or .jpg file as well.
Converting Images to Textures
We are almost there!
Now we need to convert the .tga/.png/.jpg file to a format that TF2 can read. We can do it using VTFEdit.
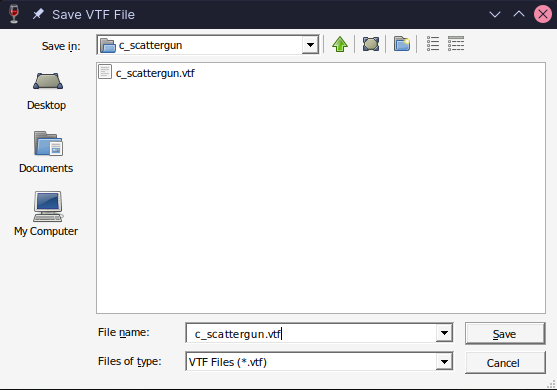
Open the file by clicking “Import” on the “File” Menu and select the file you just edited then click “Ok” on the next prompt. After it loads the file, click “File”, click “Save” and save it as the same filename (c_scattergun.vtf).
Loading the textures In-game
To try out your newly created warpaint/texture, you need to import it into the game. Remember that custom folder from earlier?
You need to create a few folders now.
Here is the file structure you need to follow
custom (/tf/custom)
| my_new_mod (Your mod folder)
    | materials
         | weapons
             | c_models
                 | c_<weapon_name> (replace <weapon_name> with the selected weapon)
                     | c_<weapon_name>.vtf
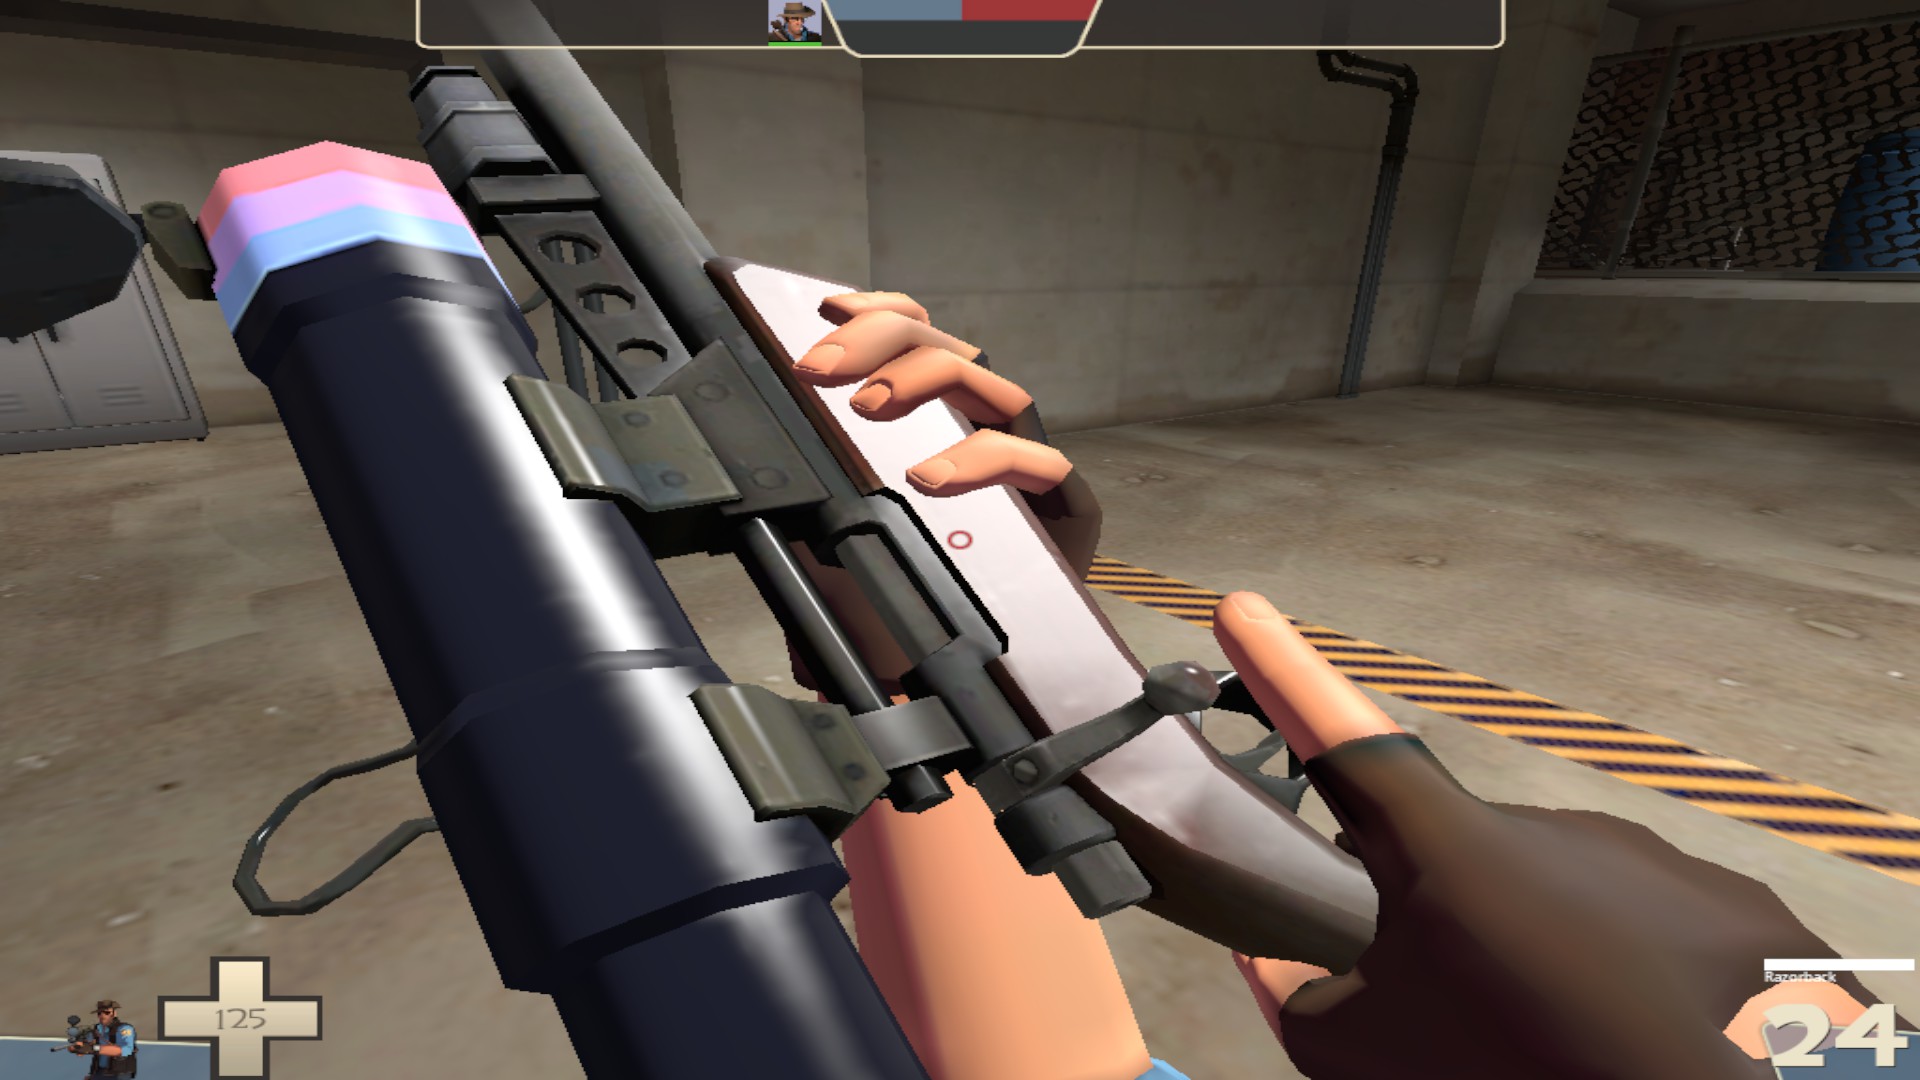
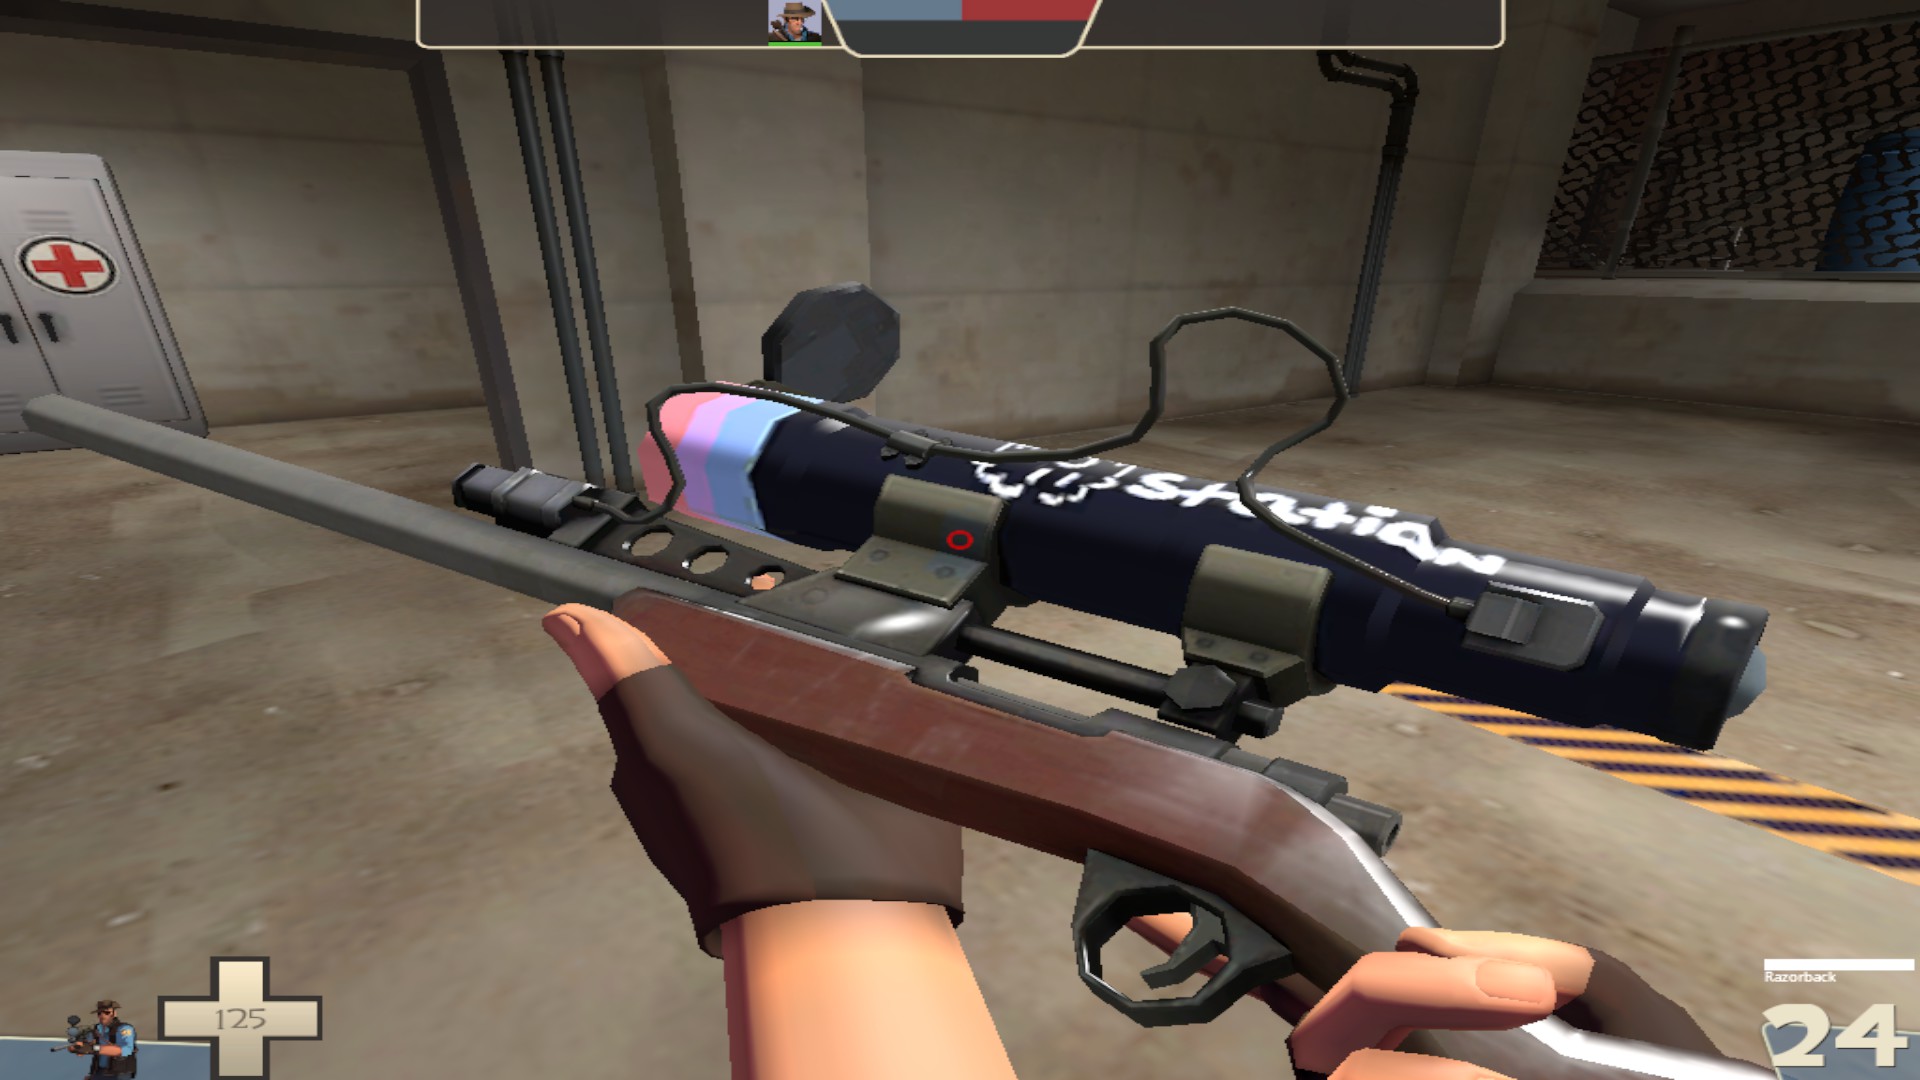
And done! You have successfully created a custom weapon texture/warpaint all by yourself! To try it yourself, open TF2, and open the developer console, then type the following command map itemtest
And you should see the skin in action!
Limitations
There is a few limitations that might prevent your skin from working properly, this limitations include:
- Not being able to load under
sv_pure 1enabled servers - Other players can’t see it
Notes
Some weapons aren’t included in the c_models folder, and have separate folders outside of the c_models folder. For those, you need to edit the v_ and w_ variants (v_ is the viewmodel, w_ is the weapon seen in third person). Some models include:
- The sandman’s baseball
- Sniper’s SMG
- Sniper’s AWP
- Pyro’s Fire Axe
- Spy’s Cigarette Case
- Engineer’s PDA
Warpaints are stored under materials/models/workshop/weapons/c_models and doesn’t require editing other files.